New Event Reservation
To create a new Event reservation, go to Reservations > Event Reservations > New event reservation or use shortcut <Ctrl> + <Y>.
The icons at the top will remain inactive (greyed out) until the reservation is saved.
Fields in blue are mandatory. Many fields have the same functionality as those on the individual reservation screen. See New reservation.
Date - The arrival date
Location - Choose the location. See Event Locations.
Start time - The expected time of arrival.
End time - Depending on the location the end time will be filled by default with the start time plus the average stay as setup in the settings. It is possible to overwrite the proposed time.
Features - See Features.
Menu selection - Optionally choose the menu. This menu is meant for reporting purposes and confirmation letters. It is NOT posted to any folio.
Adults - Enter the number of expected guests (adults, elderly people, children, required child seats and babies).
Table locations - Fill in the number of required sub locations. Depending on how you like to use sub locations this could be the number of tables required, the number of bowling tracks, etc. These numbers will be displayed in the availability screen.
Guest - Enter the guest name. This works the same as in a room reservation. You can either choose a guest from the guest profiles or create a new guest profile. It is also possible to enter the guest name and check the guest box which will only record the name on the folio and not save to a guest profile.
Company - Optionally also enter the company, department and/or contact person.
Payment - If applicable enter the necessary payment. This is not mandatory.
Guarantee - Enter the guarantee. These guarantees are the same as used for the room reservation
Card number - Depending on the guarantee enter the card number and expiry date. Contrary to the room reservation these fields are not mandatory and there is no check on validity of the card number.
Card holder - Optionally enter card holder and credit limit. These fields are for information purposes only.
Deposit - Enter or accept the deposit amount and if not 0 enter the deposit expiration date. Please note: Deposit is by default set to 100% of the menu cost. It is not calculated based on the guarantee. You have to manually override the deposit amount if you want another amount then the proposed 100%. The deposit details are not (yet) available for confirmation letters, but will be printed on some reports.
Source - Enter the source and subsource for the reservation. These are the same as are available for individual room reservations. See Source Code and Subsource Code
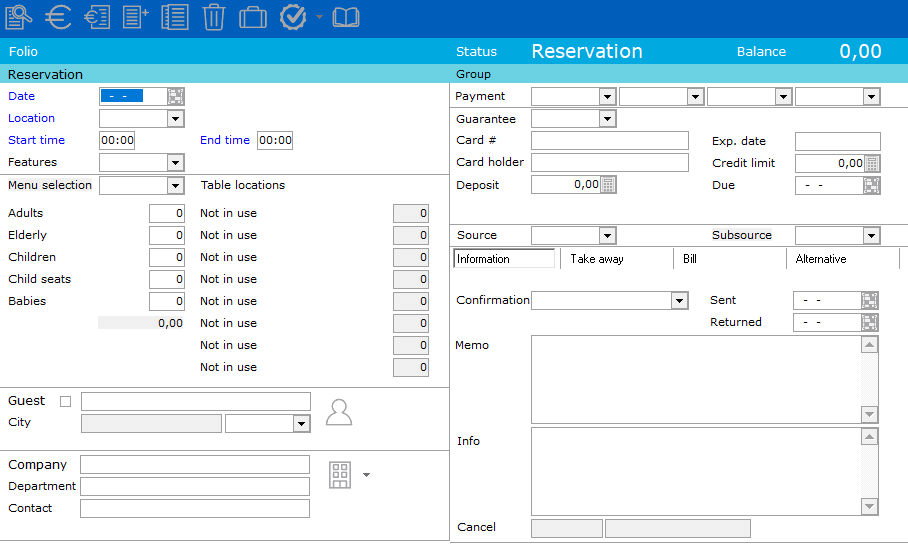
Information tab
Confirmation - select the confirmation letter type for the booking. There is a report that keeps track of sent out letters.
Sent - fill in the date the confirmation letter was sent. In
Returned - fill in the date the confirmation was returned. This data will be printed on a general info report, so the user can keep track of the reservations
Memo -
Info - enter information on this reservation or on the guests. These fields can optionally be printed on some reports
Cancel - The cancellation date and number will appear if this reservation is cancelled.
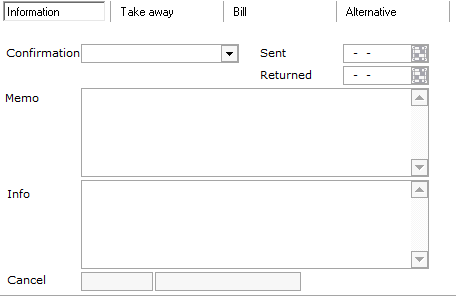
Take away tab
Some hotels also have take away articles. This function provides registration of the take out articles and prints a kitchen ticket.
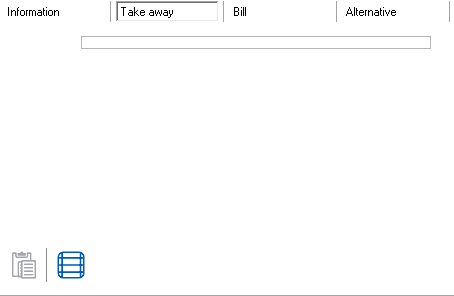
 By pressing this icon the user opens the article selection screen:
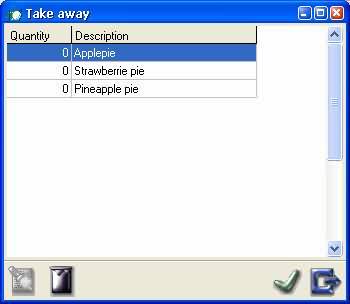
When nothing was yet reserved, all quantities are 0. Just double click on the desired article. The next screen pops up:
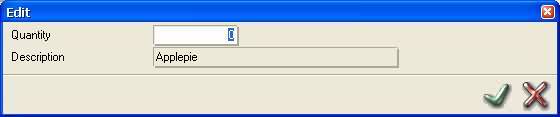
Just type in the required quantity and press ENTER or click on the OK button.
Select the next article, enter the quantity and ENTER.
An example is shown below;
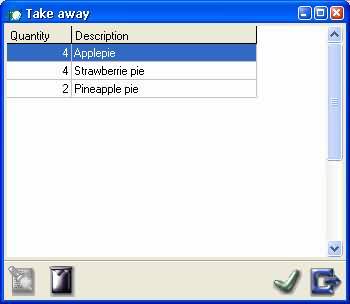
 Pressing this button will set the quantity of the selected article (blue shaded) to 0.
Press on the Exit button to leave this screen. Back in the event reservation Save this reservation first.
 By pressing this icon the kitchen ticket is printed on the default Windows printer with:
- name of the guest
- date of reservation (=take away date
- start time (= time of take away)
- quantity and description of the articles
There are NO prices on the take away ticket.
Bill tab
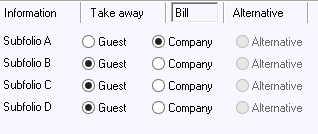
The Bill tab offers the possibility to select per sub folio the address to be printed on the bill. The default options are Guest and Company. On the tab below all articles booked on sub folio A are put on the company's account.
Alternative is greyed-out. This tab can only be selected if the bill must be sent to an alternative address. The alternative address can be entered on the Alternative tab. If then Alternative is selected on the Bill tab, this will be the address printed on the bill. The address entered on the Alternative tab cannot be used for mailing selections.
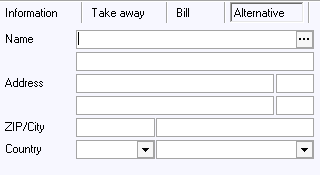
Alternative tab
In this tab the user can enter alternative address details. Manually add an address, or choose a guest, company or travel agent using 
The folio buttons now become available. With these buttons, articles can be booked, the account details can be displayed and other tasks can be performed.


See Folio buttons event reservation after confirmation for explanation of each button.