Data Mining Tool
Data mining tool is a utility to gather and extract historical information from the IDPMS database. It was designed to assist the user in easily extracting both financial and statistical data in a table format. The results can be saved in a csv format and stored locally.
To access the Data Mining Tool, go to File > Data Mining
Once started, the following screen will open

Start by choosing the period required for the data collection. Enter the start and end dates in the top left corner of the window.
Select the "Edit Cube" button in the top right corner of the screen
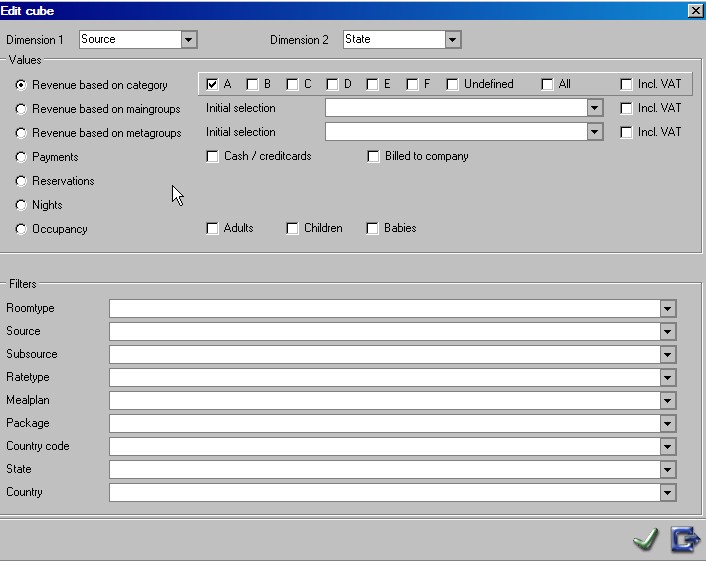
The following screen appears:
First enter the dimensions for the report, i.e. Rows and columns. The dimensions will provide the information in rows and columns like on a spreadsheet. The dimension selections are as follows and are not customizable:
Dimensions
Room Type - Results will be based on room types of the property linked to bookings.
Source - Results will be based on source codes linked to bookings. To check the list of source codes at the property, go to settings->statistics->source codes
Subsource - Results will be based on subsource codes linked to bookings. To check the list of subsource codes at the property, go to settings->statistics->subsource codes
Rate Type- Results will be based on rate type linked to bookings.
Mealplan - Results will be based on mealplan linked to bookings
Package - Results will be based on packages linked to bookings.
Country Stat -Results will be based on country stat linked to bookings. To see a list of country stat, go to settings->
State - Results will be based on state linked to bookings.
Country - Results will be based on countries linked to bookings.
Values
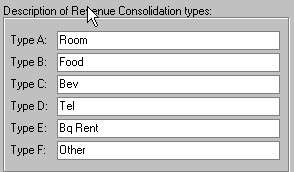
Revenue Based on Category - If this is selected, the revenue group also needs to be selected A, B, C, D, E, F, or Undefined. If the required data should include all revenue groups, check all boxes. The Revenue Groups A thru F are already defined in IDPMS at initial setup and installation of the software. To get a list of revenue groups configured for the property, go to Settings->Options->Financial(2) Each hotel configures their own list of revenue groups and maps it within the financial hierarchy in IDPMS. Changes should not be made to revenue groups without consulting the financial controller at the property.
Sample:
Revenue Based on Maingroups - By selecting this value, a maingroup needs to be selected from the drop down pick list of main groups. Again, the list of main groups was initially set by the hotel controller at installation of IDPMS. Main groups relate to the properties general ledger accounts.
Revenue Based on Metagroups - By selecting this value, a metagroup needs to be selected from the drop down pick list of groups. Again, the list of meta groups was initially set by the hotel controller at installation of IDPMS. many hotels only have one metagroup.
Payments- By selecting Payments, data will be gathered on payment types. There are two option to choose from when selecting this value, Cash and Credit cards or payments billed to companies.
Reservations - By selecting this value, results will be based on reservation counts.
Nights - By selecting this value, results will be based on room nights booked.
Occupancy- By selecting this value, results will be based on occupancy counts per person and can include adult, children or baby counts. To include all, check each one.
Filters
Filters can be placed on the data collection/extraction. The filter categories are based on the dimension categories. So for example, if a dimension of room type is used, results can be filtered on a specific room type or multiple room type selection. To select multiple items within a filter, select each one from the drop down box, one at a time. Using the Control key to multi-select does not work.
Once the start and end dates have been entered, and the 'edit cube' button pressed, the dimensions should be entered. In the example below, the dimensions are Source and State for dates of April 1 to April 30. The results will show the total revenue per source code per state for revenue category A (which is room revenue)
Example:
Click on green checkmark  to save values. After saving screen will look blank as follows:

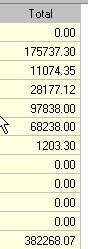
To get results, click on the 'Calculate' button on the right. Results window will display as follows:
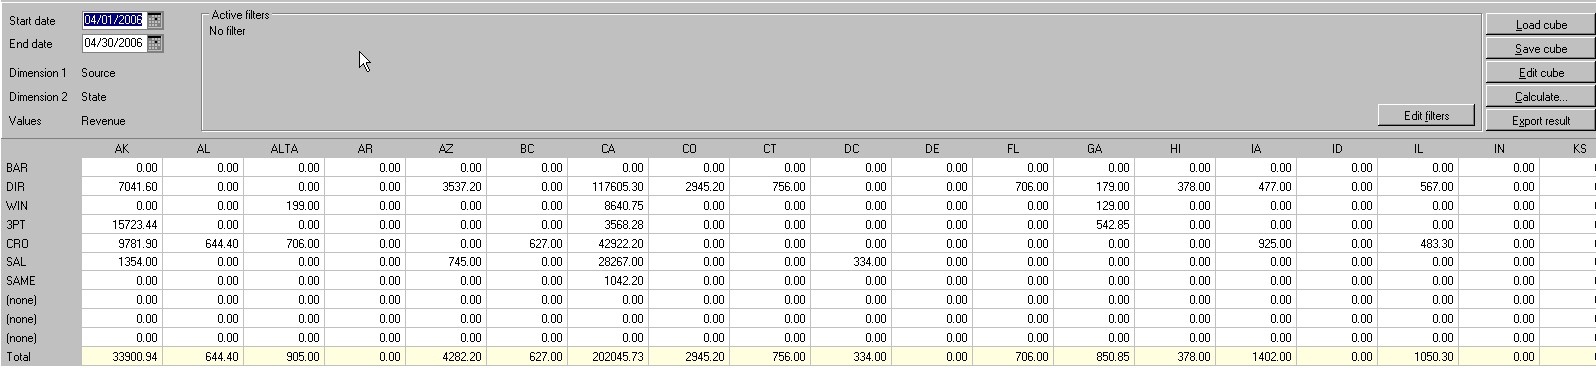
The columns across the top represent the 'State' dimension and the rows represent the Source codes. Under the Source code results, there are some rows that state '(none)'. What this means is that there were some bookings in the system that had no Source codes linked. In the example, 3 states had bookings that had no source code linked on the folio. Many hotels make Source a mandatory field and therefore this would not be a problem if that were the case. To the very right of the results window, total are included. Totals are also included for each State. For example, CA (California) had a total of $202,045.73 in room revenue in that period. The highest amount relating to the source of business called DIR which in the example represents (Direct booking made to the hotel) CRO represents the Central Res Office which accounted for a total of $42,922.20 in room revenue for CA.
Results can be saved by selecting the 'Save cube' button. 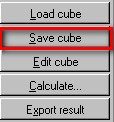
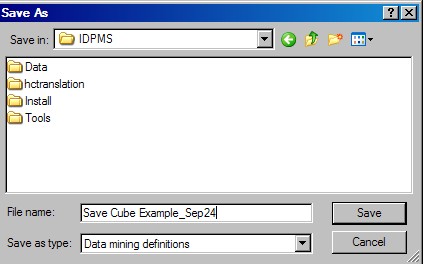
Under file name, type in a name for the cube results and select the save button. It's best to save the files in one preassigned location on the network. Saved cubes can be pulled up for future use if need be.
To export the results, click on the 'Export result' button in the data mining results window. 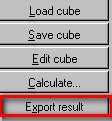 This will save the file in csv format and can also be used in Excel.
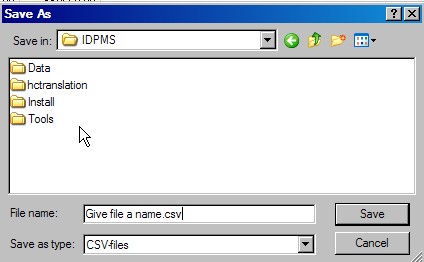
Under file name, type in a name for the cube results and select the save button. It's best to save the files in one preassigned location on the network.
The 'Edit cube' button is used to edit the cube and change a value, or a dimension.
The 'Edit filters' button is used to edit filters on the cube. 
Recap - Using the Tool
1. Open Data Mining from the File Menu.
2. Enter the required dates in the start and end date fields.
3. Select 'Edit Cube"
4. Enter the dimensions required. Select Value required and applicable pick list item.
5. Select Filter(s) if needed.
6. Save using green checkmark.
7. Select the 'Calculate' button.
8. Export the file using the export result button.
9. Save file suing the Save cube button.
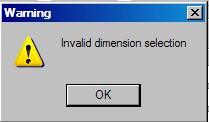
Not all combinations for dimension 1 and 2 are valid. The system will warn you if they aren't.