Note: User rights to "Post on checked out folio" are needed. See Menu User Access for more information.
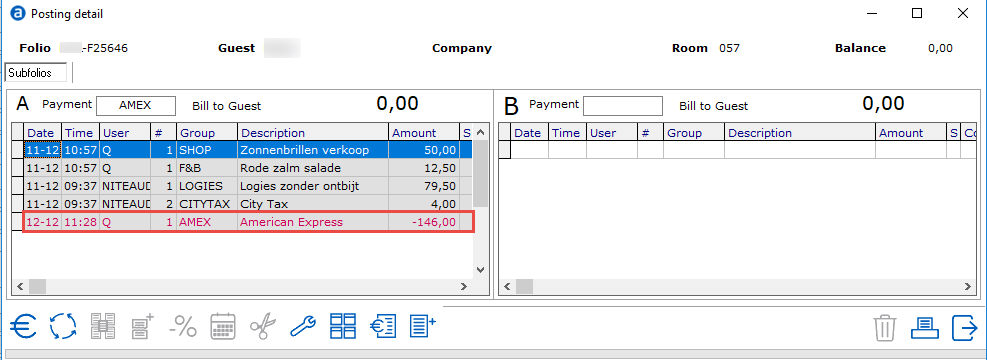
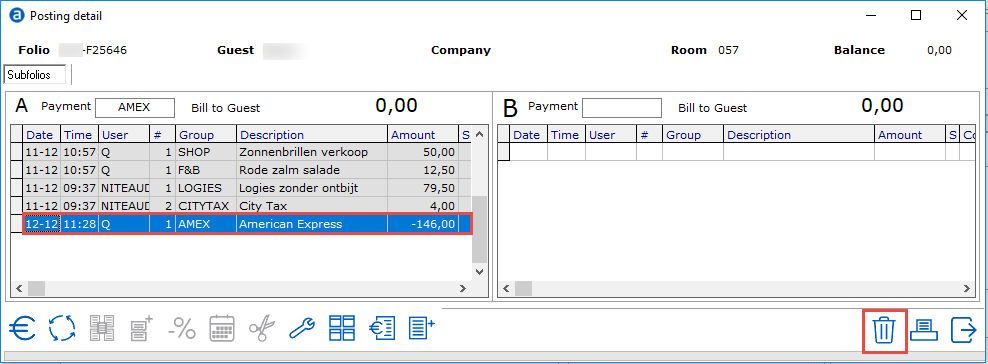
In the folio, click on the posting details screen (F5) and select the last (pink coloured) posting line. Click on the void icon to delete this posting line and make a credit invoice.
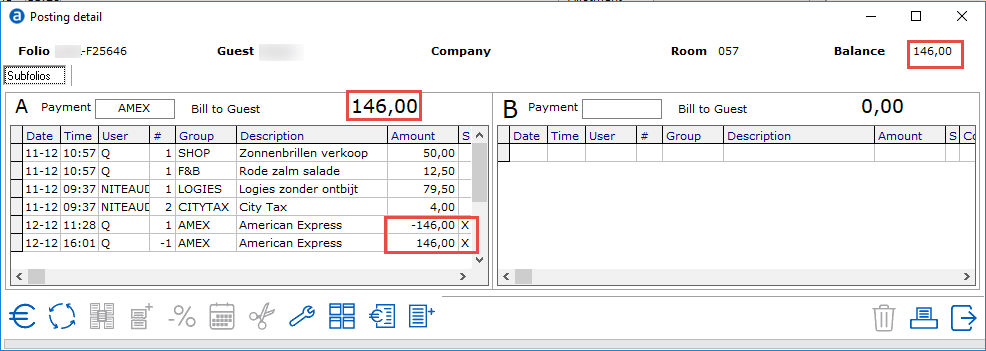
When the credit invoice is made, the folio will have an open balance. The requested changes can be made on the folio. For example changing the address of the guest.
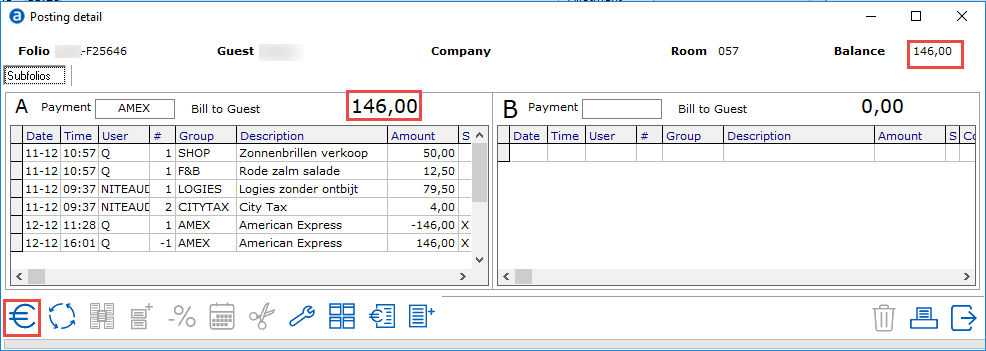
If all changes have been made, use the € sign and make sure the balance is €0,- again.
Create a new invoice using the checkmark.
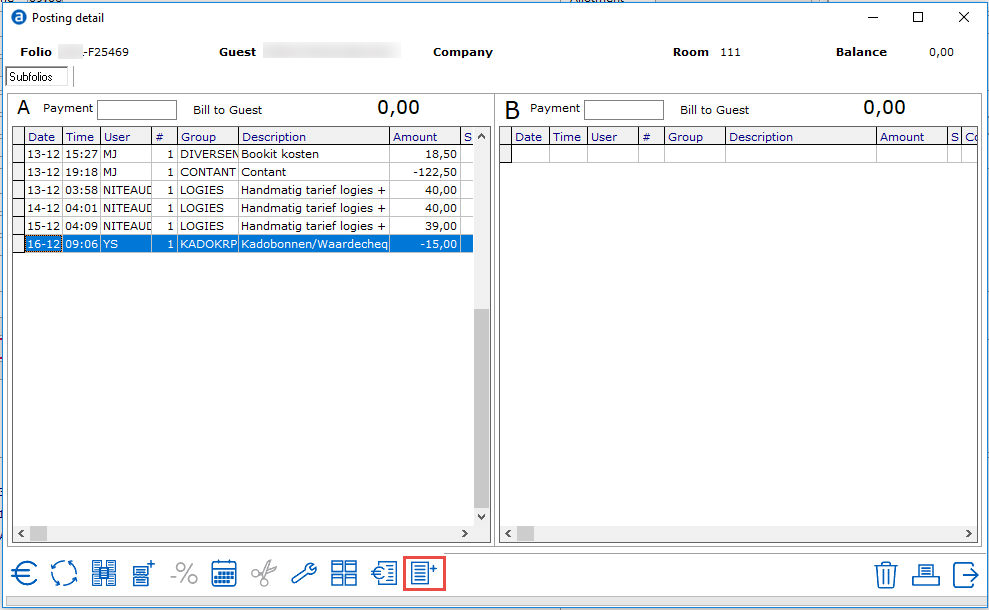
The view bill items window (F5) contains icons for creating and crediting invoices:
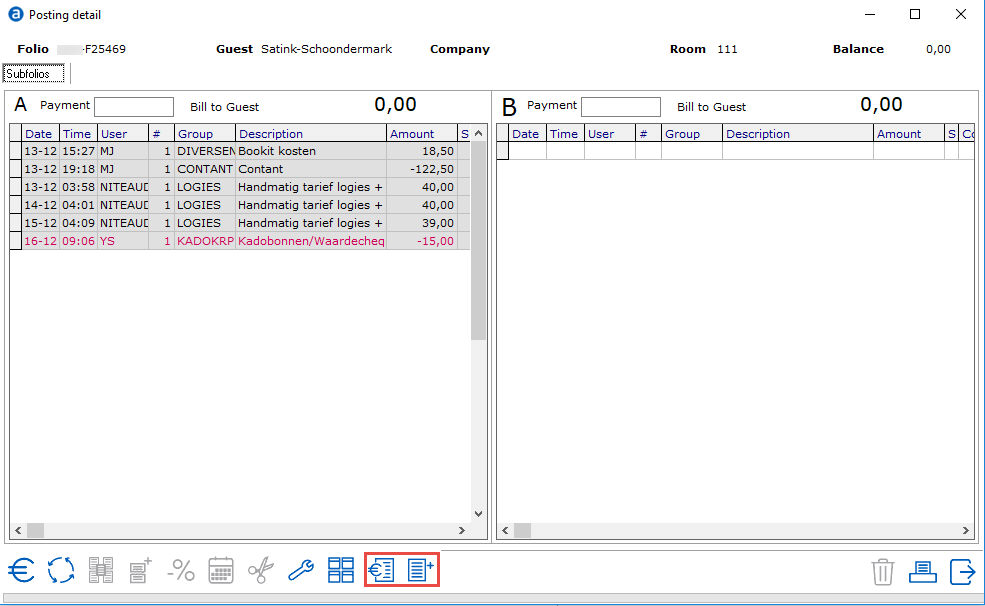
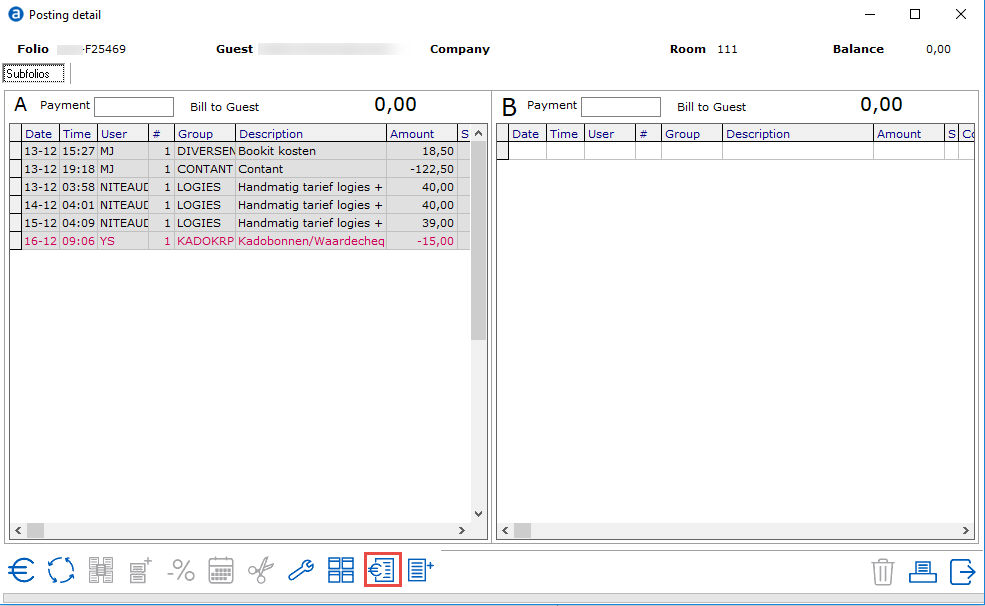
Select the pink coloured posting line and select the credit icon:
When crediting an invoice the following window will be presented where the subfolio to credit can be chosen. Subfolios without an invoice available for crediting will be greyed out. The last invoice created on the selected subfolio will be credited.
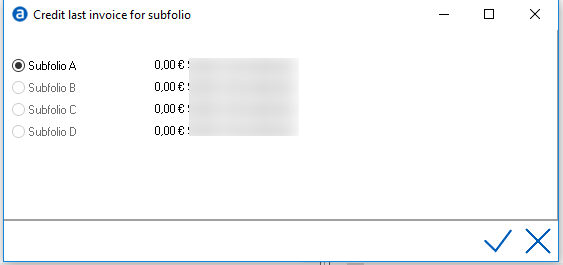
After selecting the desired subfolio, a warning will appear:
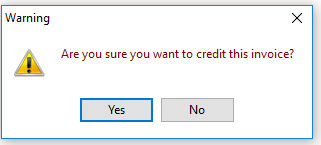
Clicking on the no button will revert back to the view bill items screen. Clicking on the yes button will result in a request to enter a credit reason:
Additional credit reasons can be defined under Settings > Picklists > Invoice credit reasons. See Invoice credit reasons.
After choosing the appropriate credit reason and optionally previewing the credit invoice, the invoice will be credited without voiding the red line (as was standard in previous IDPMS versions), as showing underneath in the view bill items window.

Please note that a debtor payment will always be credited when crediting an invoice. The previous method for crediting an invoice is also still working.
When generating an invoice the following window will be presented, subfolios not available for generating a new invoice will be greyed out.
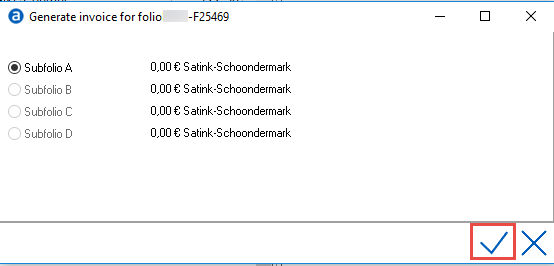
After selecting the desired subfolio and confirming, the normal dialog will show asking users if they want to print or email the invoice or do nothing. Afterwards the invoice will be created.